Beer brewing, winemaking and hobby distilling all share the first common steps in the production of the desired product. All three processes start with the preparation of a liquid that contains starch or glucose derived from grains or fruits. The addition of yeast to the mixture starts the fermentation process during which the yeast transforms sugar into methyl alcohol and carbon dioxide. This post explains how the fermentation process works. It also gives some great tips what you as a brewer, winemaker or distiller need to keep in mind before and during the fermentation process.
Let’s get started with the scientific theory behind the fermentation process – how does fermentation work?
The fermentation process starts with the preparation of a liquid, called mash or wort (for brewing and distilling) and must (for the winemaking process). Regardless of the names, these liquids are basically sugar water (with some aromas, of course). Once the yeast is added to the mash, it starts to break down the sugar into methyl alcohol and carbon dioxide molecules. Now, let’s look at how to prepare the perfect mash, wort or must that can later be fermented into tasty alcohol.
Creating a wine must
Grapes and other fruits naturally contain fructose and glucose sugars. The only step necessary to release these sugars is to crush the ripe fruit to release the juices. Once you have the fruit juice, your must is ready to be fermented. That simple.
Creating a beer wort or distillation mash out of grains
Grains (or potatoes) mostly consist of starch and naturally contain hardly any sugar. So if you would follow the same recipe as with fruits and just crush grains and add water to them, the yeast wouldn’t have much to feed on and it wouldn’t be able to produce any alcohol. The resulting beer would be even more watery than bud light.
So you need one additional step where you turn the starch inside the grains into sugar that can be converted into alcohol in the fermentation process.
As you probably know, grains and potatoes are seeds of plants. These seeds mainly consist of starch. Once the seed germinates, this starch is turned into sugar by enzymes inside the seeds to give the little seedling a boost to survive its first days or weeks.
These enzymes in a seed can be released naturally by letting grains germinate in water. As soon as the germination sets in, the grains are dried with hot air, stopping the germination process and keeping the sugars and enzymes inside the grain. This process is called malting. Milled malted grains (usually barley) form the base of every beer.
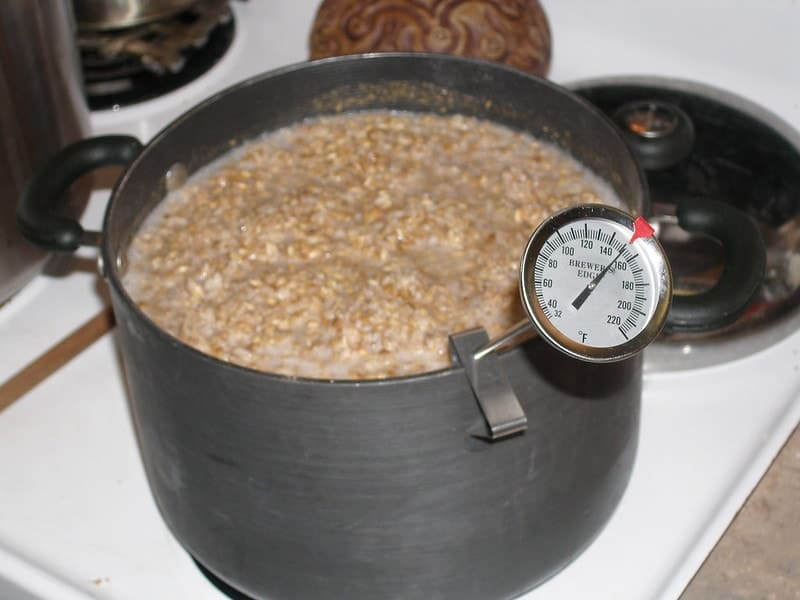
During the brewing process, milled grains containing starches are mixed with milled malted grains and heated to a temperature of up to 160°F (71°C). At this temperature, the enzymes inside the malted grains are breaking down the starch molecules into sugar molecules (mostly maltose). The brewing process typically takes around 90 minutes. After this, the brewed grains are removed from the liquid called wort. Now, it is a sugary liquid ready to be fermented into delicious beer or a mash that can later be distilled into whiskey or vodka.

Want to learn more about how to brew beer?
Check out the with every step to the perfect homebrew here.
The importance of sanitization for a successful fermentation
Before we can add the yeast and start the fermentation process, I want to stretch the importance of proper sanitization during the entire fermentation process
Every ingredient that is used during the fermentation process as well as the air around us contains natural yeasts as well as bacteria. Some are harmless but some might be able to quickly reproduce in the delicious sugar water that you just prepared. If too many bacteria develop in your mash, they might kill off the yeast and make your brew or wine go bad.
Therefore, it is absolutely crucial to clean every item that comes into contact with your product with a proper sanitizer. You could use a mixture of water and normal bleach for that. But we recommend the Star San no rinse sanitizer. If you sanitize your equipment with bleach, you need to properly rinse and dry it, to avoid having bleach in your final product. The Star San sanitizer doesn’t need to be thoroughly rinsed – which makes it a lot easier to use.
Sanitization in the wine (and fruit wine) production
Mostly, the juices of grapes or grapes are not heated before the fermentation process. Since the outside of fruits naturally contains a plethora of bacteria and mold that may interfere with the fermentation process.
Therefore, most professional as well as hobby winemakers add sulfites to the must before adding the yeast. The sulfites kill off any wild yeasts, bacteria and other bad things inside the must without having an impact on taste of your wine.
Most hobby winemakers use Campden tablets to sanitize their must. The tablets contain sodium metabisulfite as the active ingredient. All you need to do is add one ground up tablet per gallon of must, sir it and let it sit with a lid on for 24 hours. After that, your must is free from harmful organisms and you can add the yeast.
After the first fermentation of wine is done, it is transferred to another container (or barrel) where it needs to be stored for a couple of months. Before storing it, a second sanitizing run with sulfites is recommended. And again, everything that comes in contact with your wine needs to be sanitized.
Sanitization for brewers and hobby distillers
Since the mash for beer and most grain-based liquors is heated to 165°F (71°C), bacteria and yeasts are killed off in this process and the use of sulfites is not necessary. Nevertheless, every equipment that comes into contact with the mash or the beer before, during and after the fermentation process needs to be properly sanitized. Again, we and most other hobby brewers and distillers can absolutely recommend the Star San no rinse sanitizer.
The fermentation process
Once the must, wort or mash is ready and all the equipment is properly sanitized, it is transferred into a fermentation container (for home brewers mostly a bucket or carboy). Now it is time to add the yeast.
Which yeast to use for winemaking and how much?
For the fermentation of fruits to create wine, the most commonly used yeast type is Saccharomyces cerevisiae. This is basically the same type of yeast that is used for baking. However, we recommend to buy a proper yeast type specifically for the fermentation of grapes. These types of yeast will have a higher chance of survival during the initial fermentation phase. And they are relatively cheap to get.
If you want to create a fortified wine or want to distill your wine into brandy, we recommend the use of a special yeast species called Saccharomyces bayanus. This type of yeast can tolerate alcohol levels of up to 17-20%. Normal yeast will go dormant at a level of around 13-15% ABV.
The amount of yeast that you add to the must is not set in stone. You are basically adding a starter colony of yeast to the wine. This colony which will multiply greatly, if you offer the right conditions. Therefore, we recommend to use one pack of yeast, even if you only produce around one gallon of wine.

What types of yeast to use for brewing and distilling and how much?
There are two main strains of yeast used to brew beer. Ale yeasts (Saccharomyces cerevisiae) are top fermenting yeasts while lager yeasts (Saccharomyces pastorianus) are bottom fermenting yeasts. This means that the yeast is mostly active on the bottom of the mash. Lager yeasts can withstand a broader temperature range and are more popular among hobby brewers.
Theroretically, these types of yeast can tolerate alcohol levels of up to 15% ABV. However, once the sugar content in the wort is used up, the yeast will stop working. For beer, this usually happens at around 5-7%.
How to add the yeast to the mash
Ideally, your mash or must has a temperature of around 80°F (28°C) once you put the yeast in. This is the ideal temperature to get your yeast started. The yeast is just poured and stirred into the mash. Once done, close your fermentation container and shake it around for around one minute. This will enrich the mash with oxygen that helps the yeast to develop.
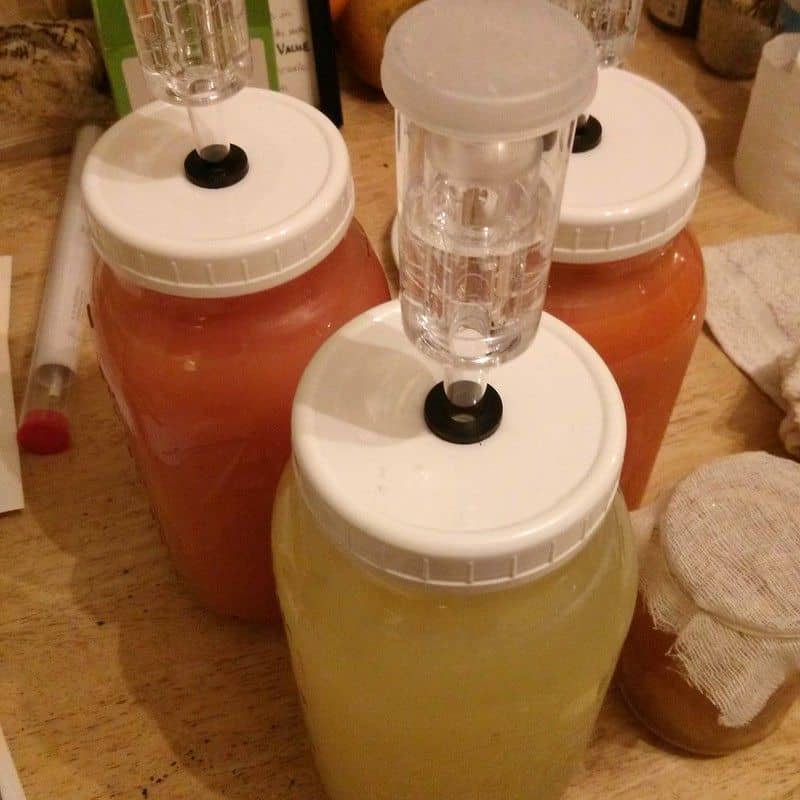
Your fermentation container should be sealed off so no air and bacteria can get in. But, since the yeast breaks up the sugar molecules in your mash into alcohol and carbon dioxide, you need a release vent that the oxygen can escape or your container may just explode. This is mostly achieved by putting an airlock into the fermentation bucket. This allows the escape of CO2 without letting any air in.
The fermentation
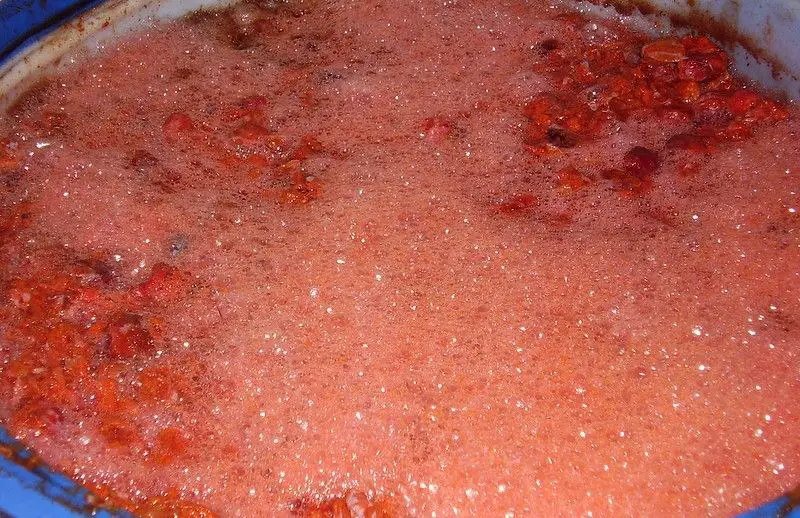
Leave your young wine, beer or mash at room temperature for around one week. Now the yeast will start to eat up the sugar and multiply. During the first days, a lot of CO2 will escape the fermentation vessel and there will be a layer of foam on top of your mash. If you are producing wine, make sure to stir it every two days to prevent the pomace at the top from drying out.

Once all the sugar is converted into ethanol, the yeast will go dormant and the bubbling and foaming will stop. This is usually around 1-2 weeks after the beginning of the process.
Now your beer, wine or mash has produced between 5-20% ABV and is now ready for the next step. If you produce beer, you would add a little bit of sugar water and bottle it. The yeast will become active again and transform that sugar into alcohol. Since the CO2 can’t escape the beer bottle, it carbonates the beer. But careful, if you add too much sugar, the bottle will explode.
If you produce wine, you would some more sulfites after the fermentation to kill off the yeast. You can now age it in a cask for a couple of months.
If you want to distill your fermented liquid into a spirit, you can siphon off any solid bits and move it into your still.


[…] What happens during the fermentation process?Check out our detailed post and understand how alcohol is created. […]