Rye whiskey is a favorite drink among hobby distillers next to bourbon. One of the great things about it is that there is not one rye whiskey recipe that needs to be followed systematically. With rye whiskey, you will not only have to possibility to influence your final product by carefully blending your cuts but you can also play with the ingredients in your mash. The only thing that is set in stone is that you need to add some rye to it. In this article, we will share two completely different rye whiskey mash recipes that will both yield an incredible tasting rye whiskey – even before aging them.
Moonshine rye whiskey mash recipe
The first recipe is a very quick and simple recipe with the rye whiskey mash recipe using rye bread instead of grains. The second recipe is a more traditional rye whiskey mash recipe.
Let’s get started with recipe number 1: Rye bread whiskey
Ingredients:
- 3 pounds (1.4kg) dark, dense rye bread (more information below on what rye bread to use)
- 9 pounds (4kg) sugar;
- 0.67 ounces (19g) distillers yeast – a bit more than a tablespoon
- Around 6 gallon (20 liters) water
- 0.7 ounces (20g) of yeast nutrients (not absolutely necessary since the bread should contain enough nutrients for the yeast but to be on the safe side).
The right rye bread
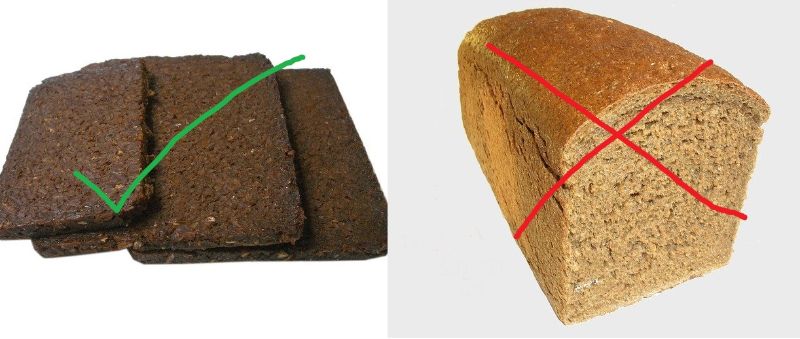
Make sure to use a dark and dense rye bread, not a fluffy baked bread. This kind of bread is often called pumpernickel. You can see a picture of the type of rye bread you should be looking for below.
Make sure the bread doesn’t contain any preservatives as that may hinder the growth of the yeast. The Maillard reaction that has taken place during the production process of the bread will give your hommade whiskey an especially rich and flavorful taste.

Necessary Materials
- A pot that can hold around 2.5 gallons (10 liters)
- An 8 gallon (30 liter) fermenter
- A still
Preparing the rye whiskey mash
Crumble the rye bread into small pieces or put it into the food processor for a couple of seconds.
Bring the bread pieces to a boil in a pot with around 1.5 gallon (6 liters) of water and boil it for around 5 minutes while stirring continuously.
Take the pot off the heat and stir the 9 pounds of sugar into the mash until completely dissolved.
Sanitize your fermenter and any tools you will now use to handle your wort.
Siphon out the solids and pour the mash into the fermenter and top it up with water to reach the 6-gallon (22 liters) level. With the added water, you should reach a temperature of 82°F (28°C).
Pitch the yeast on top of the mash. Close the fermenter up and add the airlock.
Shake the fermenter for 30-60 seconds to add air to the mash.
Fermenting your mash
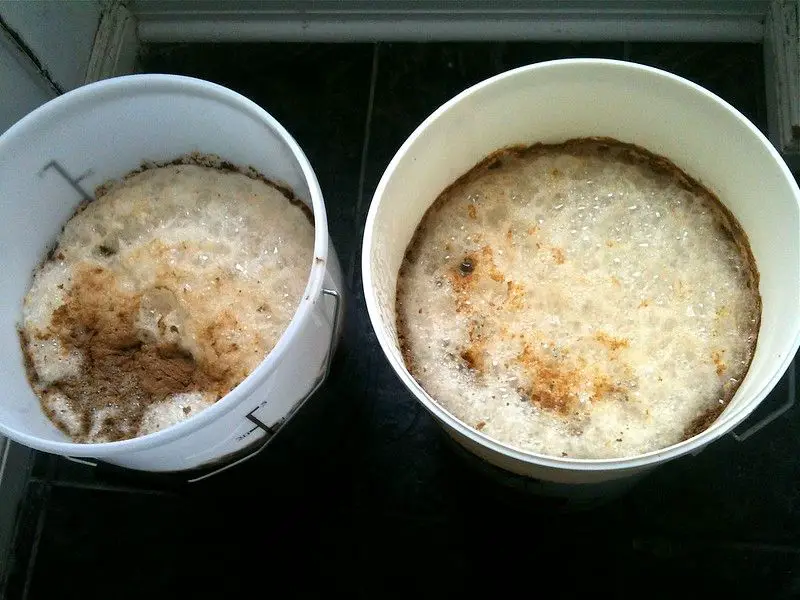
Let the rye whiskey mash ferment at room temperature for about one week in a dark place. If the fermentation process isn’t over after about a week, let it ferment a bit longer. At the end of the process, you should have a mash of around 10% ABV.
Now the mash is done and ready to be distilled. You can find more information on the distillation process below. First, we will share a more classic rye moonshine recipe with you. To get straight to the distillation section, click here.

Recipe number 2: Classic rye whiskey recipe
This recipe yields just above 0.5 gallons (2 l) of moonshine rye whiskey
If you want to make more rye whiskey, you can obviously increase the amounts accordingly. We deliberately recommend lower amounts for this rye moonshine recipe to encourage a learning curve. If you distill lower amounts of the same type of liquor several times, you will soon start to develop a better sense of how to best mix your cuts and what works well for you and what doesn’t. Smaller amounts of mash are also easier to handle with hobby distilling equipment.
Ingredients
- 3 pounds (1.4 kg) of flaked rye
- 1.8 pounds (800g) of flaked corn
- 0.25 pounds (120g) of malted barley
- 0.5 teaspoon (2.5 ml) of gypsum
- 0.5 teaspoon (2.5 ml) of acid blend
- 2.5 gallons (10 l) of water
- 0.5 tablespoon (7.2 g) of distiller’s yeast
Producing the mash
Step 1: Boil the 2.5 gallon (10 l) of clean water for about 15 minutes in a large pot and let it naturally cool down to 165°F (74°C).
Step 2: Now, add the grains as well as the gypsum and the acid blend. The latter two ingredients are optional and you can play with the dosage. Adding gypsum and acid blend will increase the taste of your home made rye whiskey. Put a lid on your pot and let it seep for 90 minutes. If you are doing this process in a cool enironment, cover the pot with a couple of towels to keep the heat inside. Stir every now and then to help dissolve the starches in the grain into sugar and to prevent your grains to sit on the bottom of the pot.
Step 3: Strain the grains from the wort, cool it down quickly to 82°F (28°C) and pour it into your fermenter. Add half a tablespoon of distiller’s yeast and close the fermenter up. Shake the fermenter for about half a minute to add air to the wort and add an airlock.
Let it ferment in a dark place at room temperature for about a week until the mash is no longer bubbling. Now you can distill your rye whiskey mash.
Distilling rye whiskey at home
Once the fermentation process is finished, strain your mash through a cheesecloth to remove any solid particles that may interfere with the distillation process.
Siphon the wash into the still.
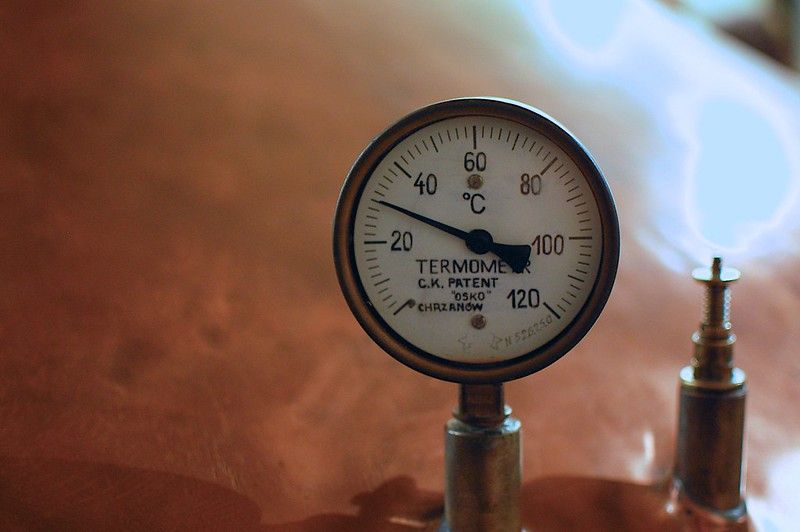
Slowly heat the wash in the still to a temperature of 120 to 140°F (50 to 60°C). During the first part of the distillation, toxic byproducts like methanol and acetone are removed from the wash. So make sure not to increase the heat to quickly to best separate the bad from the good elements. Reaching 150°F (60°C) should take around 45 minutes.
Separating the forshots and heads
Once the liquid in the still has reached 140°F, turn on the condenser and slowly turn up the heat to 160°F (71°C). This level of heat will only turn volatile elements of your wash into vapor. As mentioned, the most prominent if these are the toxic elements acetone and methanol. Slowly increase the temperature of the liquid to 175°F. Collect the liquid output the run has produced so far and put them aside. Make sure to label them accordingly to avoid confusing them with the later output. These are called the foreshots and the heads which will be discarded later. Once the distillation process is finished, double check if the amount of foreshots heads you will be discarding is around 15% of the total output. The first two ounces of your distillate is mostly methanol and acetone, so make sure to discard at least that amount. Everything that comes after that would be safe to add to your whiskey but probably won’t taste great.

Collecting the hearts and separating the tails
Now, the toxic elements have mostly evaporated and you can keep the heat at 175 to 185°F (79 to 85°C). At this temperature, ethanol evaporates and you can collect the “hearts” of your DIY rye whiskey.
Slowly increase the temperature and collect the output in several small containers. The alcohol content will slowly decrease. Initially, you will get some great and complex aromas that will make your rye whiskey especially tasty. Once the temperature reaches 205°F (96°C), fusel oils will start evaporating. These will not only add a bad taste to your whiskey but are also toxic. So make sure to dispose these so called tails. Your distillation run is now complete and you can turn off the still and clean it for the next use.
After getting rid of the toxic forshots and tails, it is on your nose to decide which parts of the distillate you want to keep and which you want to discard. If you’ve collected and numbered the output in several small containers, you can now soak in their aromas and decide if they should be part of your home made moonshine rye whiskey or not. The first portions may have a strong pungent smell and you might want to get rid of some of those as well as some at the end. Overall, it is quite common that around 20-30% of the total distillation output (including the foreshots and tails) are discarded. Blend all the parts you want to keep together.
Aging your home distilled rye whiskey
Your rye whiskey is now theoretically finished. Since the ABV will be very high, you can either dilute it with purified water to reach around 80 proof for immediate consumption (not recommended) or age it to add additional flavors and the typical brown whiskey color.
You can either do it “the right way” and age your whiskey for 1-3 years in a charred oak barrel or go for a quicker aging method with roasted oak chips that you put in the whiskey. This process is much quicker and takes between 1-3 months. You can find more information on how to age your homemade whiskey here.
Great, now you’ve learned how to make rye whiskey at home. Did you try it and want to share your experiences or tips with us? Or do you have a different rye whiskey recipe you would like to share? Let us know in the comment section.
Also consider joining a Whisky of the month club, where you can sample different whiskeys from around the world.


