First thing first — it is important to note that brewing distilled spirits including bourbon or any other type of whiskey, vodka, gin is illegal and potentially dangerous in all of the states in the USA. Please read this article from a hypothetical perspective, and use the info for your own knowledge.
The law will come after you if they think you are making bourbon or any other spirits.
Welcome to the age-old art of bourbon making, a process steeped in tradition and craftsmanship. In this guide, we're embarking on a journey to recreate the magic of moonshiners from the comfort of your home. Whether you're a beginner bourbon enthusiast or a seasoned home brewer, this comprehensive guide will walk you through every step of making your own bourbon, from selecting the right ingredients to the intricate process of distillation. But many home brewers ask if making their spirits is the same or more difficult than brewing beer at home.
The short answer is it takes much more time effort, and specialized equipment to make bourbon at home. The Joy of Home Distilling book provides a comprehensive view into the home bourbon distilling world, so be sure to pick up your copy today for a full guide. My guide below will go over the basics and highlights on how to get started.
You may also want to consider a Bourbon of the Month club membership and get introduced to different craft bourbon/whiskey each month.
Here are the steps that I’ll go over in this guide on how to make bourbon at home:
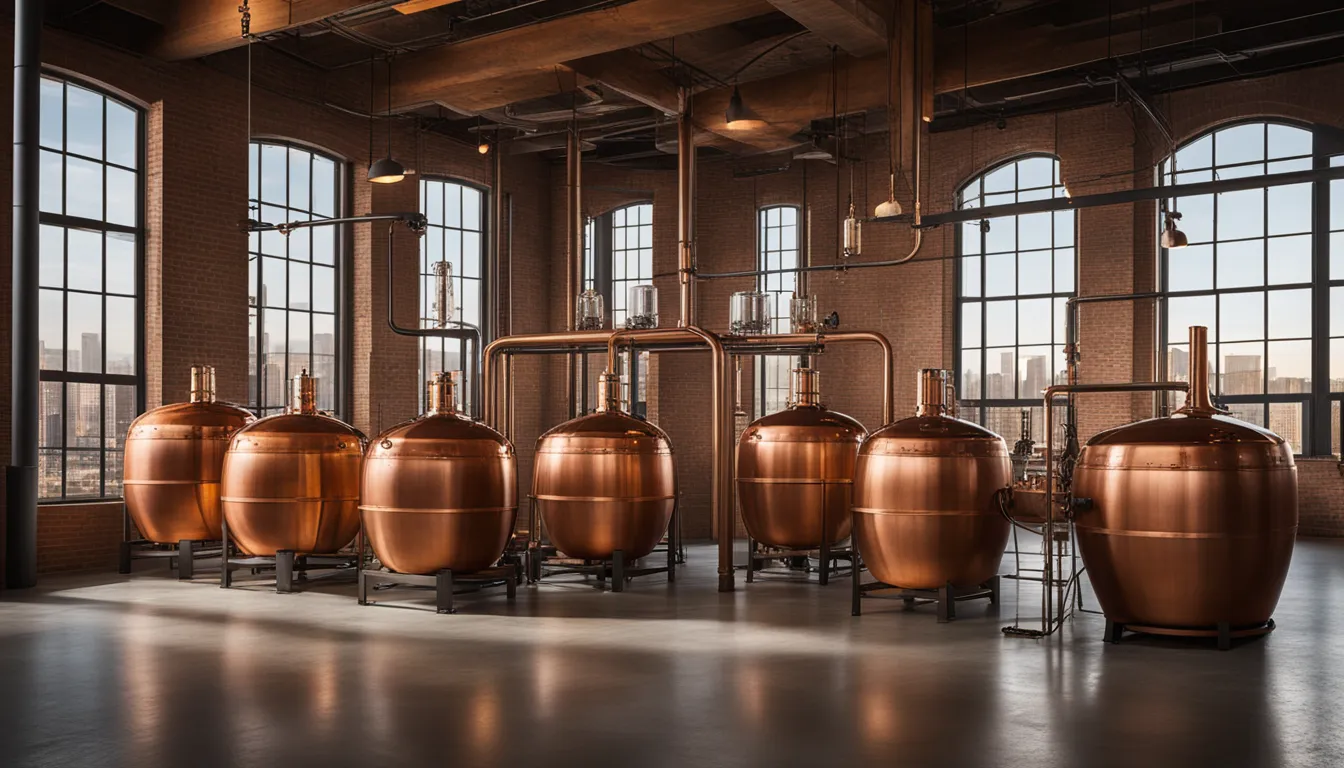
- Step 1: Start with the proper hardware and still
- Step 2: Gather up your bourbon mash ingredients
- Step 3: Make the bourbon mash
- Step 4: Fermenting the mash
- Step 5: Collect the distillate
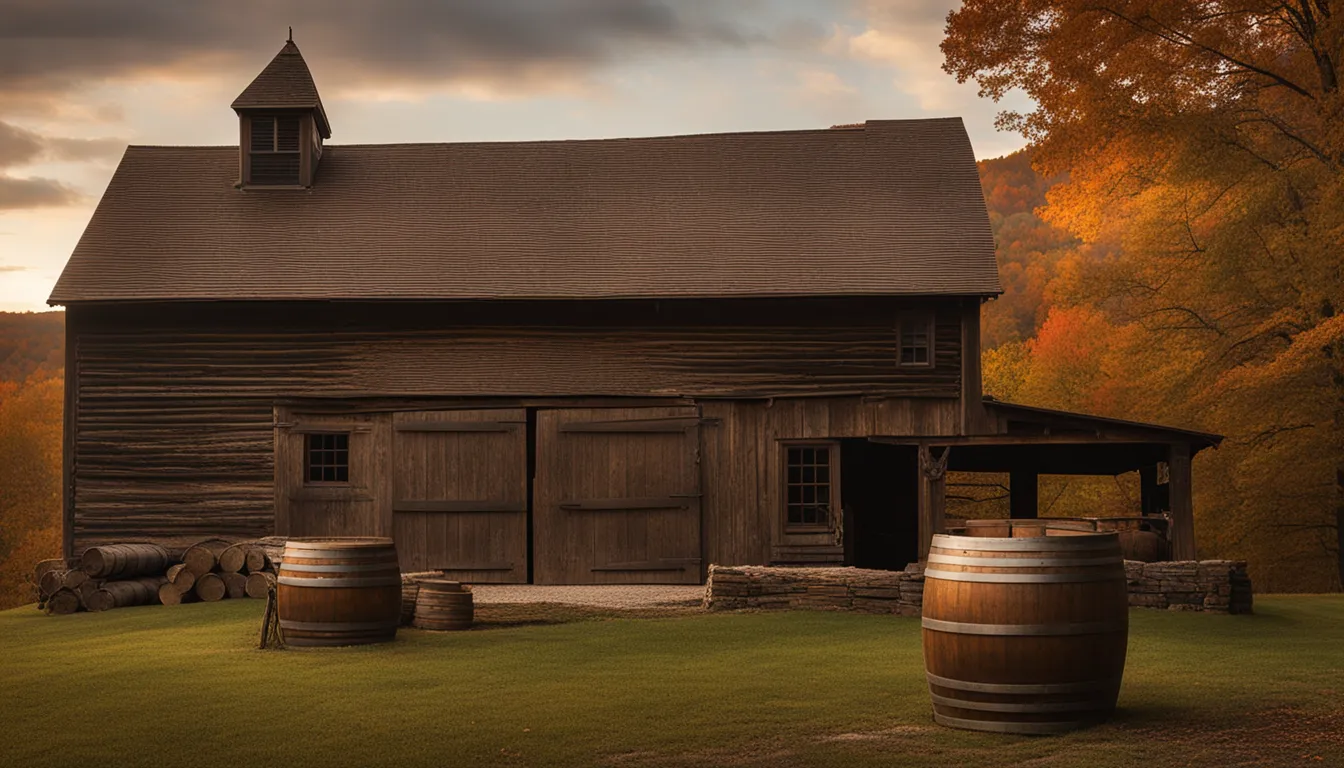
- Step 6: Ageing & Barreling
HOMEMADE BOURBON RECIPE INGREDIENTS
You can’t use kitchen equipment in your house to make bourbon at home, so here’s what you will need to get the job done!
Bourbon Making Hardware List
Please check the distilling laws in your state before trying to assemble any distilling unit. Some states make it illegal to even own a setup. With that said, let’s continue.
- Start with Two 5 gallon jugs
- One 5 gallon oak barrel- (All bourbon is aged in oak barrels, which can be new or aged, and from a European, American, or Japanese oak tree. Without time spent in oak barrels, bourbon would remain dry and fiery, and devoid of the delicious toasty, vanilla, caramel, and nutty notes that give bourbon its unique physical and chemical nature.)
- A corona corn and grain mill– (You will need this to crush the grain products quickly)
- A funnel
- A food thermometer
- A 10 gallon copper still (didn’t know you could buy these, did you?)
Ingredients for your Homemade Bourbon Mash Mix
- Start with 5.5 gallons of water
- 7 lbs of corn maize
- 1.5 lbs of rye
- 1.5 lbs of barley
- Some nut milk bags
- toasted oak chips
- Some distillers yeast
How To Make The Bourbon Mash
Mash in the world of Bourbon is the process of combining milled/crushed grain with water. The water should be warm enough to activate the enzymes, and so that it can break down the starches into short-grain sugars.
It is worth noting that bourbon mash is different from beer mash because it’s thin, sour, and usually quite boozy — which is not something you’d be happy to drink by the pint.
A traditional bourbon mash is a combination of at least 50% corn, rye, and wheat, but you will have to play around with the grain’s ratios.
Pro Tip: A recommended blend to start with for bourbon is 75% corn, 15% rye, and 10% barley.

Selecting High-Quality Grains
To get started with making the mash for your batch of homemade bourbon at home, grab your corona corn and grain mill, and add all your grain to it. It will take roughly three to four passes for the natural enzymes found in the grain to break down the grain’s starches.
The journey to exceptional homemade bourbon begins with high-quality grains. Source the best corn, rye, and barley you can find. Remember, the quality of your grains directly influences the flavor of your bourbon.
Perfecting the Mash
Your bourbon mash recipe is more than a mere mixture; it's the lifeblood of your bourbon. Here's a closer look at a bourbon mash recipe for home brewing:
- Corn: The primary grain, adding sweetness and fullness.
- Rye: Provides a spicy kick, balancing the corn's sweetness.
- Barley: Essential for its enzymes, it aids in converting starches to sugars.
After your grains have achieved your desired mil texture, throw the grain’s starches into a pot of boiling water, so that they leach out of the cracked grain. Stir the mash until the mixture reaches near boiling point, which will help convert the starches to sugar. The sugary liquid that results from the mash is known as wort.
Water Quality: A Silent Contributor
Water plays a silent yet pivotal role. Its quality can significantly impact the fermentation process. Use distilled or spring water to avoid unwanted flavors from tap water impurities.
Fermenting Bourbon Mash

Once your grains are mashed, it’s yeast time!
This is where you add a cup of that distiller’s yeast to the cooked mash, and then added to the five gallon jugs. Fermentation generally lasts several days, but could be longer depending on several variables.
These include:
- The type of yeast you use, where turbo yeasts will finish fermenting a lot faster than bread yeast.
- The temperature of the room the mash is fermented in. Mash fermenting at 80 degrees will ferment a lot quicker than mash fermenting at 55 degrees.
- Another factor that plays a crucial role in the of time it takes for bourbon mash to ferment is the amount of sugar present in the mixture. The higher the amount of sugar present, the longer it will take for the mash to ferment.
Creating the Perfect Environment
Fermentation is an art in itself. The temperature of the room, the type of yeast used, and the sugar content in your mash are critical factors. Keep a close eye on the fermentation, looking for signs like bubbling in the airlock, indicating active fermentation.
To determine if the fermentation process is underway, check the airlock of the jugs roughly 18 – 48 hours after you add the yeast for activity such as bubbles. Movement in the airlock indicates that the fermentation process has begun, after which you can let the gallons with the bourbon mash sit for at least two weeks.
Check on the gallons after 14 days or so for any bubbling in the airlock, and if there’s no movement for at least a minute of two, the fermentation has finished. If you don’t see any activity after 18 – 48 hours after adding the yeast, check the lid of the gallon to ensure that it is sealed tight.
Yeast Strains and Their Impact
Different yeast strains can significantly affect the flavor profile of your bourbon. Experiment with various distiller's yeasts to find the one that best suits your desired outcome.
Temperature Control
Maintain a consistent temperature during fermentation. Slight temperature variations can lead to significant differences in the final product.
The Waiting Game
This stage requires patience. A typical fermentation process can take anywhere from a week to several weeks. It's crucial to wait until fermentation has fully ceased before moving on to distillation.
Add Some Character To Your Bourbon In The Still
Even though the most challenging part of making bourbon at home is over, you can’t make a toast just yet, because the fermented mash at this point lacks the character of the bourbon.
Using the copper still can be extremely dangerous, so proceed with caution. Put the mash in the still, and heat it over medium heat, so that it can evaporate the alcohol, and separate the distillate into a pot.
If you purchased a still from our recommended source, your still will come with instructions on how to make everything happen.
COLLECT THE BOURBON DISTILLATE
Setting Up Your Still
Distillation is where you'll channel the spirit of a moonshiner. Make sure you have a high-quality still, and always follow safety guidelines to prevent any hazards.This is where things can get a bit tricky because there are four stages to it — foreshots, heads, hearts, and tails.
Navigating the Stages of Distillation
- Foreshots: These first vapors are high in methanol and must be discarded.
- Heads: Although less harmful than foreshots, heads can ruin your bourbon's taste.
- Hearts: This is where the finest quality bourbon is collected. The hearts are what you'll want to keep for aging.
- Tails: While not as refined as the hearts, the tails add complexity to your bourbon and can be reused in future batches.
Being able to detect the subtle changes between each of these 4 stages takes lots of practice and experience.
FORESHOTS
These are the first vapors to boil off during distillation during heating and contain methanol and other undesirables. Foreshots account for 5 percent of your total distillate, and should always be discarded and never consumed, as it can make you blind.
HEADS
Next, the heads follow the foreshots, and even though they won’t make you blind, they do contain “lighter” compounds such as Acetone, Acetaldehyde, and Acetate. These chemicals not only taste and smell like solvents but can give you a terrible hangover.
Heads are far from smooth and account for 20 percent to 30 percent of the liquid collected during the distillation process. They are not worth keeping, and just like foreshots should be discarded.
HEARTS
The hearts are the good stuff you want to keep and make up 30 percent of your bourbon distillate. Hearts are regarded as the “sweet spot”, and account for 30 percent of your bourbon distillate. Hearts are full of flavor, extremely smooth, and are noted for their sweeter taste.
Your skill as a home bourbon distiller will come into play because you need to gauge the beginning and end of the hearts portion of the distillation run. You can do this by tasting not swallowing a small portion of your distillate to ensure that it doesn’t taste like solvents.
TAILS
The tails come after the hearts, and are more bitter than sweet, as they contain fusel oils such as propanol, butanol, and amyl alcohols. Tails typically comprise 35 percent of your total batch, and generally feature a slight oily sheen on top of the distillate. You can save the tails and use them in future distillation runs, which are referred to as feints runs.

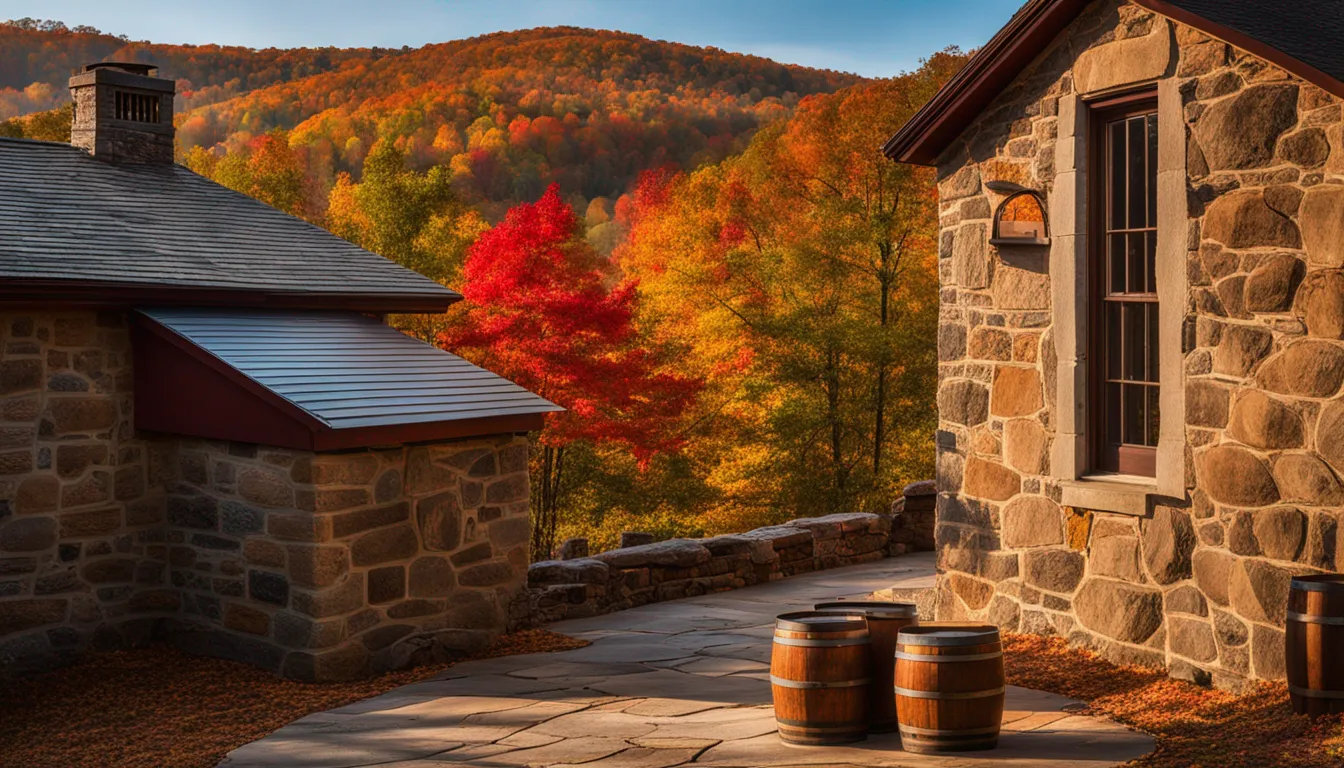
Aging: Where Magic Happens
You should now have a nice moonshine that you can drink or age.
Choosing the Right Barrel
Aging your bourbon in a new charred oak barrel is critical. The char level of the barrel and the type of oak will significantly affect the flavor profile of your bourbon. Aging in smaller barrels can speed up this process due to the increased surface area.
To make real bourbon, it must be aged to extract flavor in new oak barrels. The aging process of bourbon is not all long as the processes, where the ideal time to age bourbon is at least three months. If you’d like to experience superior quality homemade bourbon, you should age the bourbon distillate for years, which will give the oak flavors enough time to fully blend in and saturate with the distillate.
For instance, Booker’s Bourbon is aged 6 to 8 years and it is an astonishing bourbon. Either way, if you wish to experiment, you’ll be happy that you decided to make your own homemade bourbon. Be sure to check out my recommended bourbon drinking glasses to get the full experience of your bourbon.
Bottling Your Craft
Once aged to perfection, it's time to bottle your bourbon. This is where you see your efforts come to fruition. Dilute your bourbon to the desired strength, and consider chill filtration to remove any impurities and ensure clarity.
Storage Tips
Store your bottled bourbon in a cool, dark place to preserve its quality. Avoid extreme temperature fluctuations.
Embracing the Moonshiner's Spirit
Your journey through the process of making bourbon at home in the style of a moonshiner is not just about the drink; it's about embracing a tradition and a craft. Each step, from selecting grains to bottling, is a testament to your dedication to creating something truly unique and personal.
All in all, making bourbon at home isn’t an easy process, but one that is time-consuming and could be potentially dangerous if you have no clue what you’re doing. But on a brighter note, sipping on your concoction will make your efforts worthwhile, especially if you follow the directions in the Joy of Home Distilling book.
If you have any questions, comments, or advice, or if you have tried your hand at home distilling, leave us a comment below.