Some hate it, some love it but the reality is, now that your brew has fermented out, it's time to package it up. This is a small rundown on what different kind of bottles are out there, a step-by-step guide on what to do on bottling day and a few tips to make the experience a bit of fun.
This guide is part of our Homebrewing Hub — your complete resource for brewing at home.
Bottling your brew can sometimes be a mundane task, but it's also the last stage of the brewing process - hoorah! Bottling can also be a really social event and a lot of fun as you see your hard work come together into a gleaming, seemingly ready-to-drink package.
Oh, and do you want to know my number one biggest bottling tip ever?
Bring a friend to help out.
Bottle Types
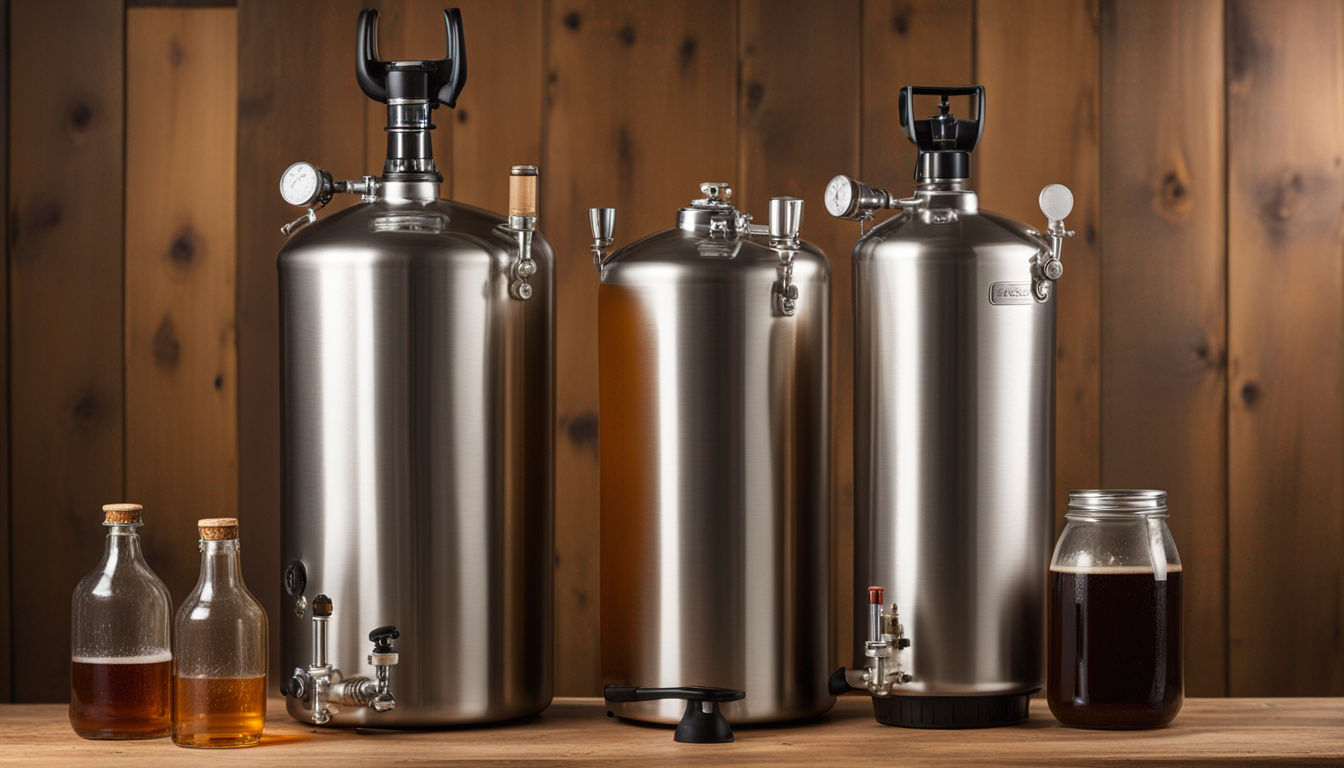
There are three types of beer bottles on the market; the twist-top or screw-top, the swing-top or flip-top and the crown seal or crown cap beer bottle.
The twist-top or screw-top beer bottle is undoubtedly the most common. Despite being easy to open once capped, they are difficult to seal and aren’t the best for brewing. It’s best to steer clear of these bottles. Wondering whether to stick with bottles or upgrade? Read our kegging vs. bottling comparison.
Made famous by Grolsch, the swing-top can be difficult to clean but is perfectly suitable for home brewing. There can be issues with getting a proper seal when conditioning your beer for long periods but if you ensure that you purchase some new wires and seals every once in a while and you’ll be fine. The best thing about swing tops is there are no capping tools required.
The tried and tested bottle is undoubtedly the crown seal or crown cap. These are the caps you need a bottle opener to open. You will need a capper tool to seal them but they are the most cost-effective and arguably the most suitable type of bottle for home brew.
Bottle Caps
Caps are a dime a dozen and can be purchased from your local home brew store, supermarket, or online. You can get them in a number of colors and this can be handy to distinguish between different batches if you don't have labels.
Here's what to do
- Ensure your beer has completely finished fermenting. For ales, waiting a full 14 should do it, but always use a hydrometer to be sure.
- Clean your bottles and then sanitize your bottles and bottle caps (cleaning and sanitizing are not the same thing!)
- Prime the beer. Sugar needs to be added in order for the beer to carbonate. There are two main methods for priming. The first method involves adding a dissolved sugar mixture directly to the fermenter, the second involves adding sugar to each individual bottle. The quantity of sugar will vary depending on the desired level of carbonation but for the beginner, the easiest solution is to purchase carbonation drops. Use 1 drop for 330ml-375ml / 12-oz bottles or 1.5-2 drops for larger 750ml or 22oz bottles. Incorrectly primed bottles can lead to bottle explosions and serious injury. Always read directions carefully.
- Fill your bottles with a bottle filler attached to an elevated fermenter. Try not to disturb the beer too much during bottling as any yeast that has fallen out of suspension may end up making it’s way into the bottle. This will not spoil your beer, but too much yeast in the bottle is never a great thing aesthetically speaking.
- Capping the now filled bottles can be done with a hand capper (not recommended) or the more popular bench capper or two-handed capper tools.
- Store the beer at fermentation temperature for 2-3 weeks to let the beer carbonate, after that, store your brew in a dark, cool location to condition. 18-20 degrees is best.
Keep Reading
More from the Homebrewing Hub: